Sunday, January 8, 2017

How I made my book !!!

Hello there, well I am fixin to write how I made the pretty lace book.  Annette style,  the instructions of how I created the book and there are many many ways to put a book together.  This is just how I put this book together.  The ugly puuple book in a couple of posts back?   Well it is getting an overhaul.  I do believe replacing pistons in a 1955 Chevy was easier than making a lacy girlie book look prettier.    I am not kidding.  My hands were smaller than Hubby's hands so they could fit in and around engine parts easier that his would in different areas.  I am sure the manicure was messed up and I am laughing big time here.   I am not a manicure girl.  Oh sometimes I would get a manicure but by the next day my pretty nails looked awful and to this day I can ruin a manicure quicker that a bunny can run out of the yard with two dogs chasing it at full speed.

Whoops I am wandering.

Just a reminder of the back and front of the book.   I did just dig around in my laces and doilies I had purchased at  estate sales and knew the sweet ladies who made these would be proud, I think, that they were re purposed. 


  Now I used some thicker fabric for the inside of the book, the one that holds the weight of the pages and the pretty lace on top.   I stacked the pages that were going inside the book and just guesstimated how thick to make the backing .  I did allow a couple of inches more on the back side for "growth"  of the book.   They always seem to get fatter than you imagine.   I guess it is all the lace and stuff.  


I did use some flat lace first on the outside of the cover and wrapped it over the edge to the inside.   I also sewed a little pocket to the inside for any notes of in this case a Round Robin booklet the ladies wrote in.  Some of the lace on the front of the cover I used a sewing machine and some I hand tacked it and with the beads.   Of course they were hand tacked.  Remember don't sew up the inside pocket with your stitches and then you have to go back and cut them loose and resew the lace on the front.  Just saying from experience.


I chose some heavy muslin to back the block and used a piece of lace over the muslin.  I then put the overlay of lace on the muslin before making a little sandwich of the layers with the block.  Pinning the wrong  sides together of the lace, muslin and the CQ block.   When finished it looked kind of like a little pillow case.   I made the muslin and lace about 2 1/2 inches longer on the what will be center of the books


The birds eye view of the lace and muslin being folded over the block.  I didn't worry to much about the mitering of the corners, not with two layers of lace over it.  

I did not put any batting or anything between the layers.  You can of course if you want to.   


When I first was going to do this I didn't know about putting more lace on 
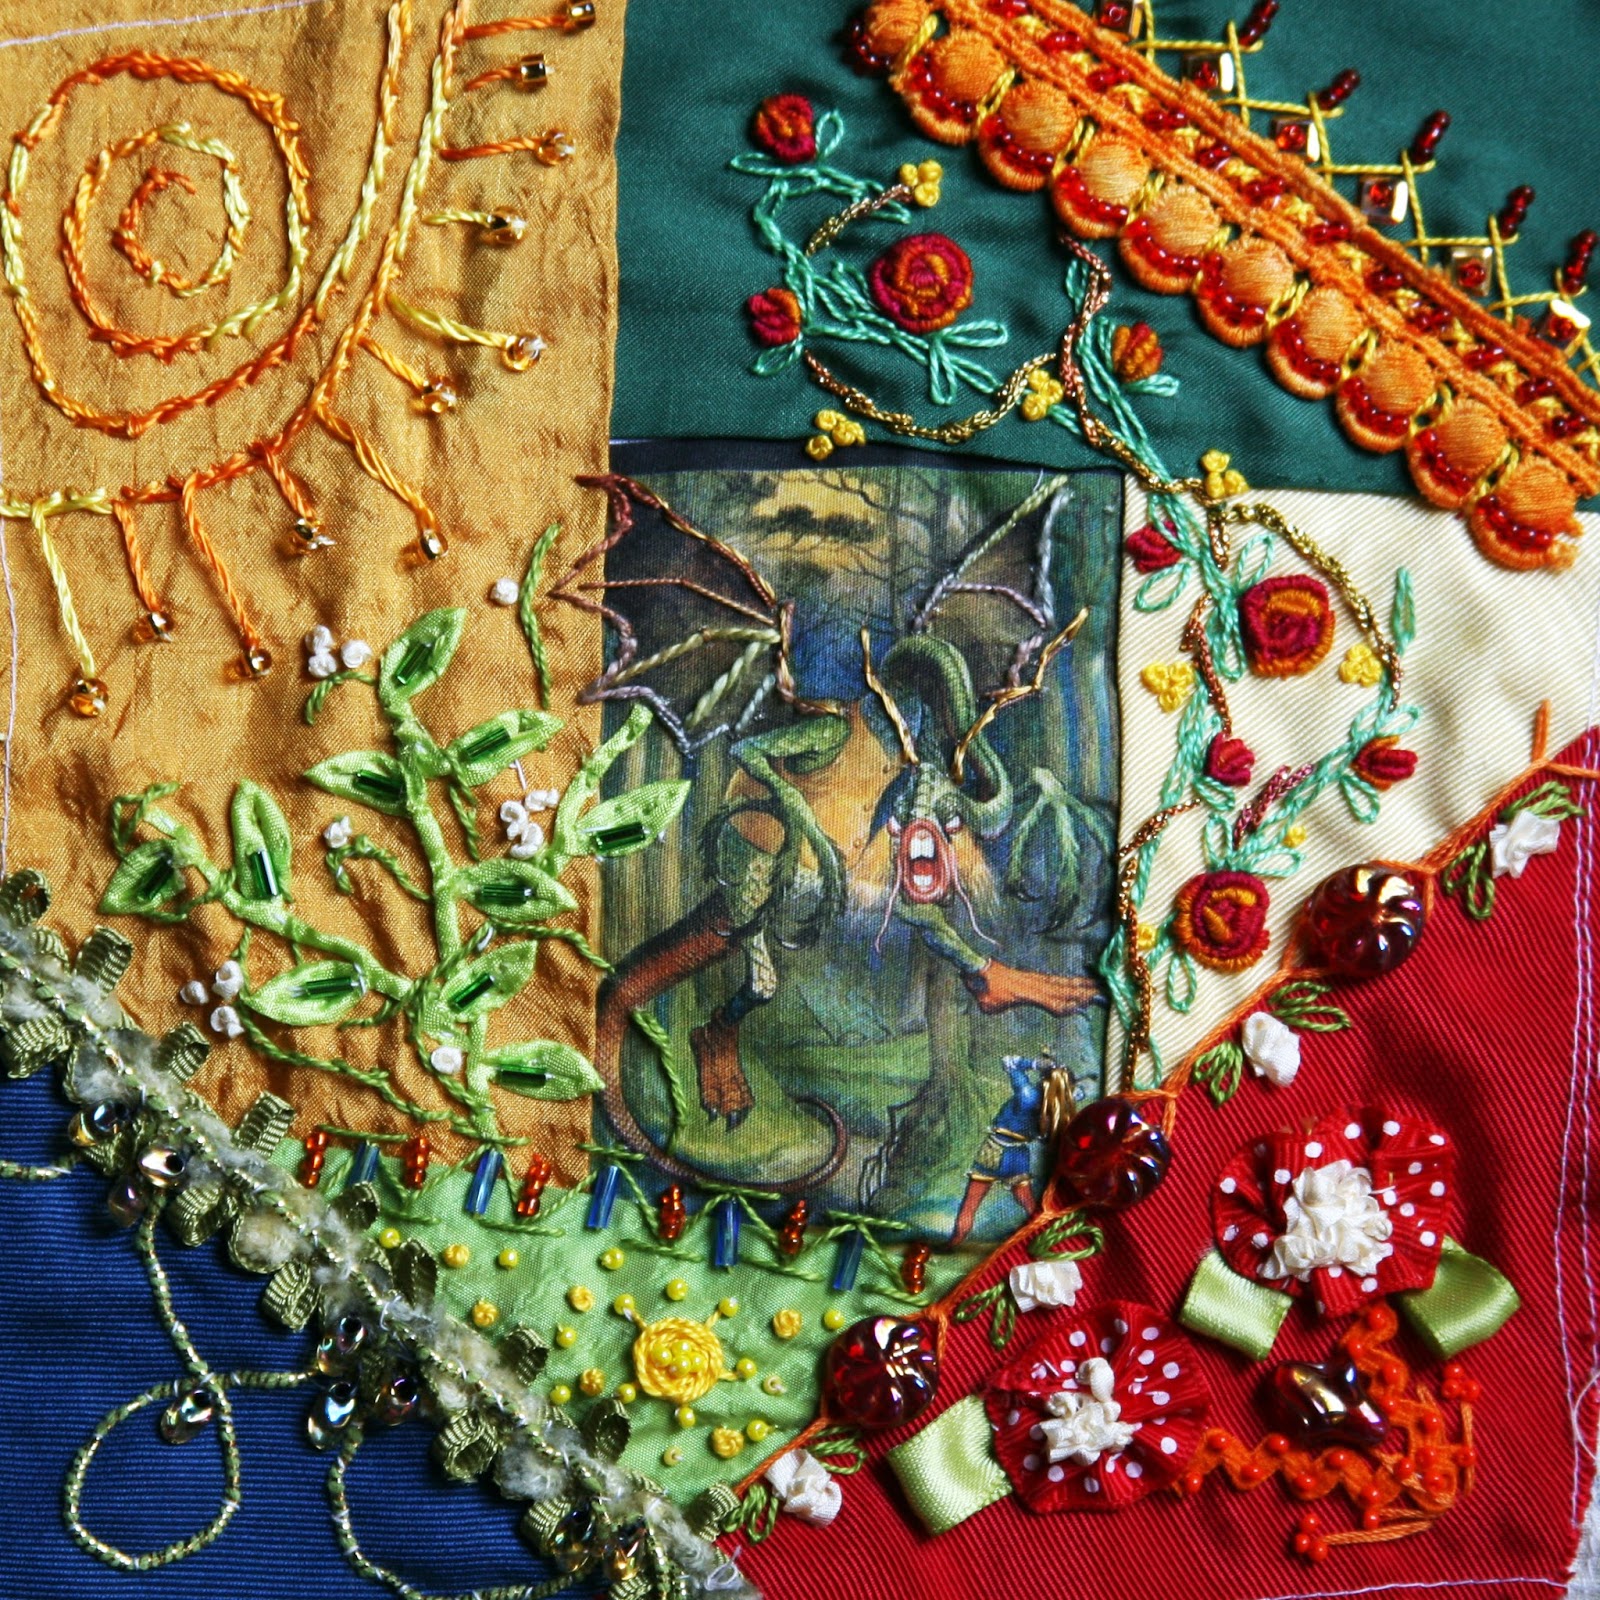
the block but you can never have to much lace in CQ art.   So I have been told.


The lace on the block is sewn on top of the block and on the bottom of the block.   


The block will look like this, sort of.  The 2 1/2 inches are to the left . The extra will be folded over and sewn on .   Now this litte book I sewed the pages directly to the back of the cover.   The last piece of lace I sewed on was done by hand so it would cover the spine where I sewed the blocks on.   
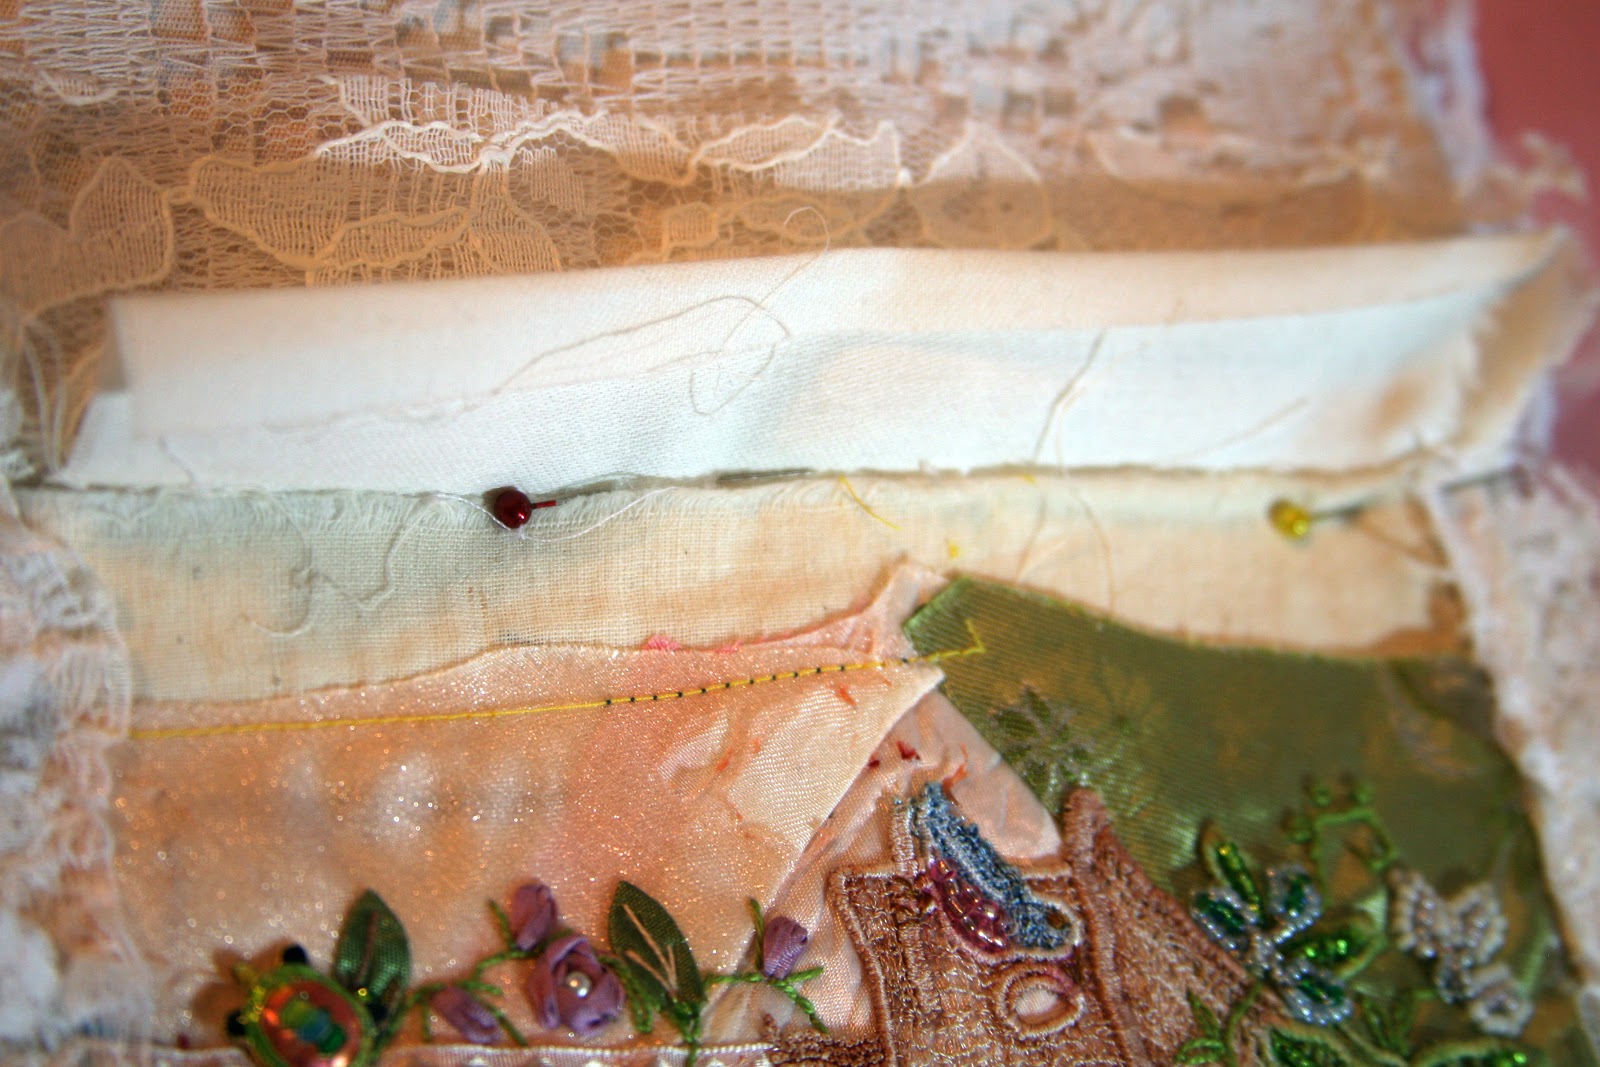


I pressed the extra fabric  with a little for seam  to fold over onto the block and then where I was going to sew it onto the book cover.   I would give more measurements but everyone's blocks are different sizes and that would lead you astray.     I sewed thru the muslin and the book cover with the ends not folded over.


This is sewn on to the book cover.   Now after you place the first one on the cover about every1/4 inch is a good measurement to sew the next block on.  Can be less if you want but just not butt the blocks together or it might make it stiff to open.   Just speaking from experience there.  Or it might look like the spine is jammed up and the open end part of the book just flares out.  It just doesn't lay flat if you jam them in super close.   Now on the purple book I did more than 1/4 inch, still learning here, and I used a purple marker to cover up the lighter fabric.  


 Now here is one of the blocks with the extra fabric folded over onto the block and then I use the machine to sew it over the block.  Notice when I sewed the flap over I folded in the ends and then they look nice and neat.  Please also notice at the top of the fold over is the little blank spot I told you about so the book lays nice and flat.  


One more page with the flap folded over, not yet sewn down.    I do have to mention, the page on the right has one lace  with the fold over flap and the back on the page before it has a different lace.   Note to self when you are making a book at two different times please save enough lace lace so they all look alike.   Lace this loose ( on the right ) is a bear to sew with for this purpose.   Please notice the tiny little void of anything in the center , that is the little space I was talking about. 


                             One more look at a page sewn in looking at how it is at the spine.   


See how pretty the pages lay in the book .  It is kind of a Coptic binding  or it may be.   When I make my art journals I use this type but it is done differently but the same results   Pages laying pretty and flat.  My fabric books are not done this way.  I learned those techniques from Pat Winter and Suzy Quaife.  Such talented ladies.  


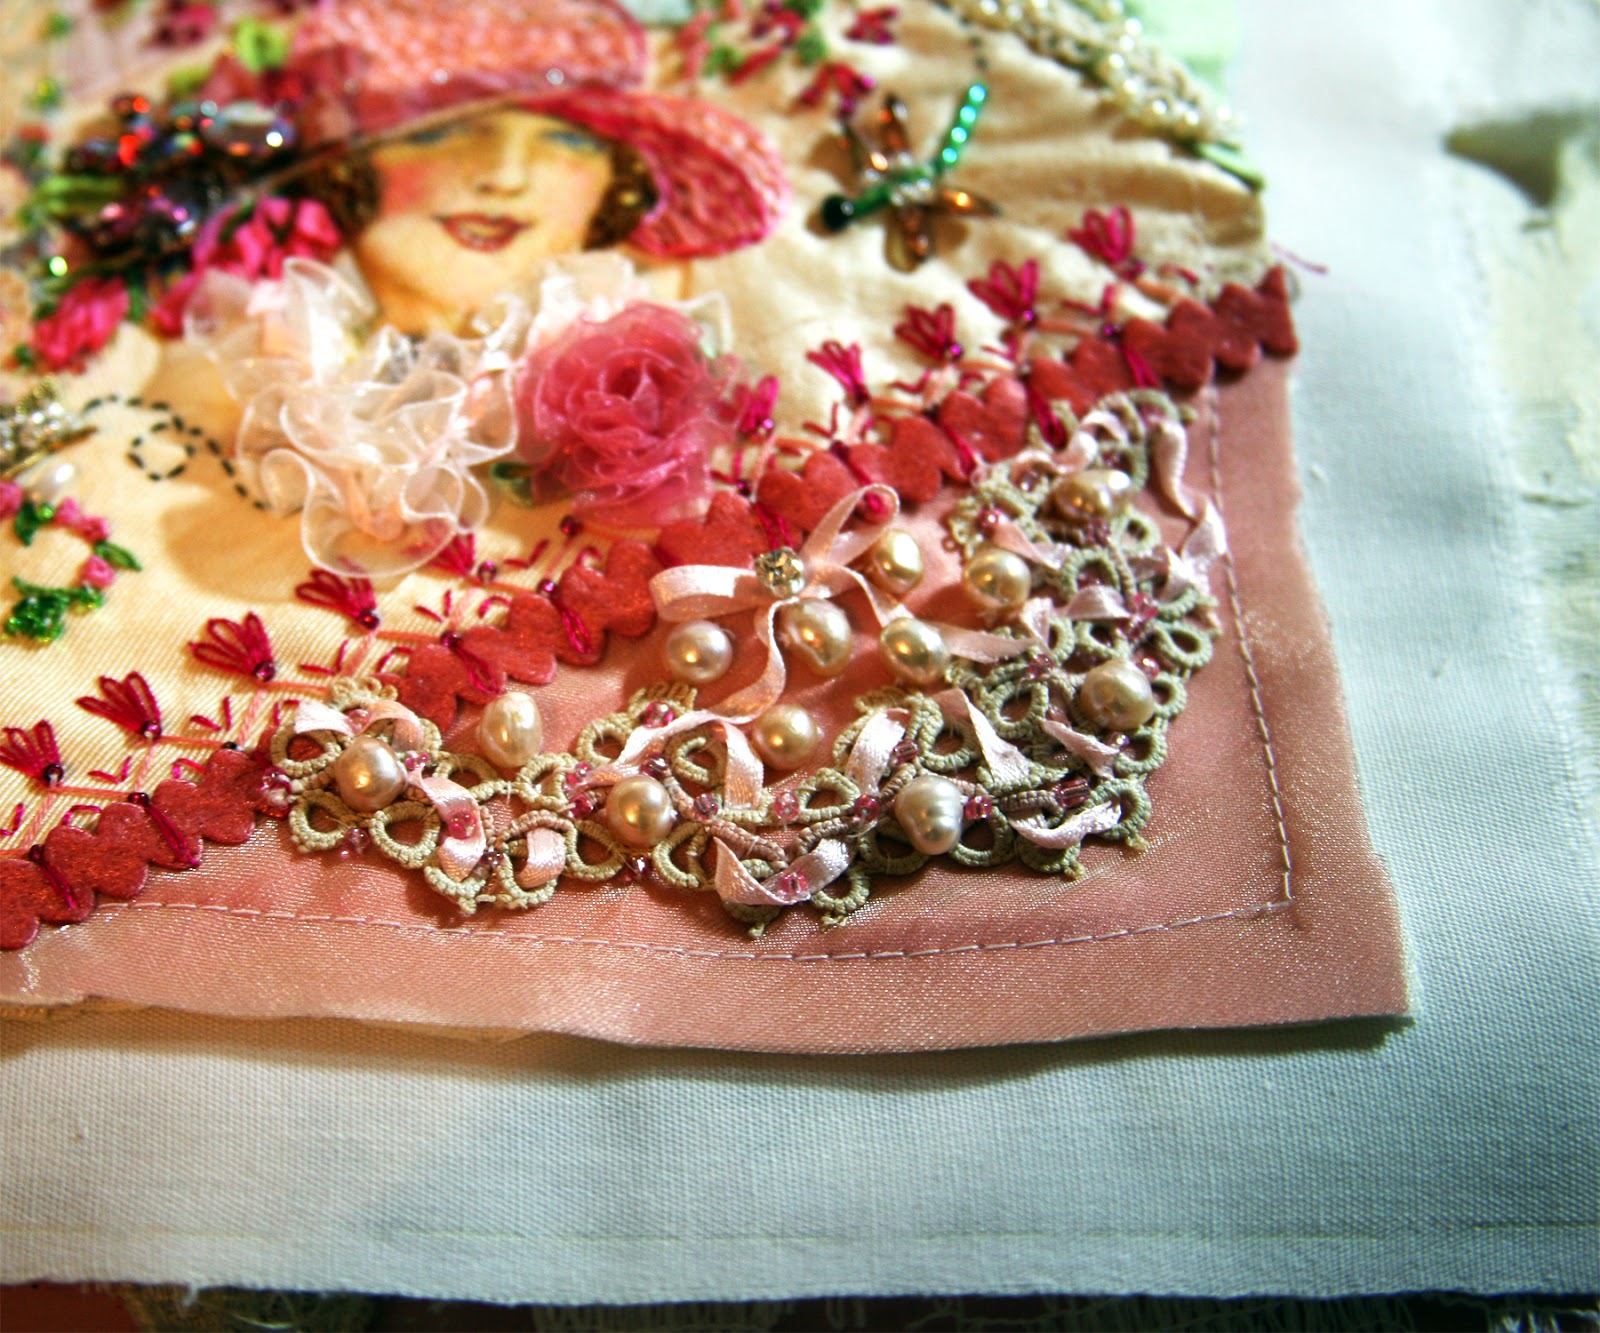
The spine of the book with the extra piece of lace to hide my seams .
 

It sits nice and fluffy now.  Ready to look at and treasure.   They are not sitting in a drawer but I can enjoy them anytime.   


Reminds me of an old time pantaloons, nope I didn't wear them and just saw pictures of them.   

There you go I hope this helps some.  I am not an instruction person.  If you have any questions I will try to answer them  either here or on facebook.

Thanks for stopping by and seeing what is going on in my world today.

                                                              OXOXXO
                                                               Annette


Tuesday, January 3, 2017

We are going to busy this year for sure

Hello and Happy New Year and wow is it going to be an awesome year.  I can feel it in my bones.    Now the last few days I wanted to finish up a project that has been in the working part for almost 2 years.  Yes, you read right.  Two years, this is not Annette to have projects looming over me but when see it you will understand.   It takes time to create a heirloom.   

I have been in a Round Robin with a wonderful group of artists.  They are great !!!!!!   I make5 or 6 blocks and send to them and they pick one to embellish. They  each do the same and we have blocks floating around in the mail to each other.  Like little elves or faeries carrying around our treasures.   By the time one year was over I thought ok I think I am going to make my second round of blocks kinda sorta the same theme.  So I am finishing them up.  I did actually take working photos and will post a new post with how I did the book for these treasures .   Sooooooooooo here you go.   My blocks of pretties and who did them.  I hope you enjoy the blocks and the little lace book I just finished.  


Thanks for stopping by and seeing what is going on in my world.  I just feel like great things are going to happen this year for us all. oxox

Wednesday, December 7, 2016

Scant instructions on how I put my books together

Now you know I am not a dyed in the wool person.  Shocking  news isn't it?   Making my Crazy Quilt block books is no different with my loosey goosey style.   I am working on my third CQ book right now and fixin to put the mother of all books my Alice in Wonderland book.  I think these books below were my learning curve for the Alice book.  I will try to take good notes and pics of how it goes together.  

Soooooooo here is some notes and pics of 2 1/2 books I have put together. 


 The Crazy Quilt book I did.   I was not sure how to make the spine like I had seen in pics but I came up with a way.   Will share in a minute.   I did get carried away with the front and back of the book.    Now I make the all  lace books and put them together differently.  My sweet friend Pat Winter did a little tut on that and love it and I have taken and not had time to do it yet an on line class from Suzy Quaife.   Both  ladies are such experts in their art and look them up, it will be well worth your time.


                             I tied this book with some pretty ribbon


 I sewed the blocks like little envelopes and sewed on fabric,  better instructions I hope below.    I didn't like the way it looked and it needed to be fancier so lace came out of the bin and said " I want to be in this book"   So there ya go.     I did fold over the fabric of each one to help make a hinge.  I think better instructions below.  


My method of making the smocked looking spine.  I gathered up some soft fabric and on the wrong side just tacked little pieces of it together, bunched up I guess.  I did several areas and turned over to see what I did and taadaa it looked like I wanted.  Now this has been a while ago but I know it takes extra fabric and then I sewed it to the spine by hand I believe .   I just looked soft and pretty and seem to go with this book.   


This is the second book I made.   I had this pretty curtain I bought at an estate sale and the owners had whacked it up to fit a window.  They were surprised I bought them,  hey they don't know crafter artists for sure.   I layed it out and after stacking the blocks together and wrapping the fabric around them to see how much I needed.   Of course I added extra length and width to tuck in edges and just to make sure I wasn't short on the fabric  and thinking RATS.   On the spine I just added little charms and ribbon and lace.   No two books are alike and knowing me they won't be and it is a learning process to me.   The lace and charms and ribbon just added some motion and a little jingle noise.   


I added some tucked soft fabric to the spine to cover where I sewed the blocks onto the cover.  


How the blocks look sewn on.  Now I had the brain storm to use a color, one color to back all the blocks.  I hate it, but just to lazy to change it at this point in time.  Maybe when I get bored I will change it.  Maybe..........


Close up of the block with the mistake of fabric.   If I change it I will show you.  Looking at the pic I am thinking it will be sooner than later to change it.  Oh well live and learn. Now if you don't put tons of pretties on your blocks you might maybe put some thin batting or something between the block and it' s backing.  Mine have plenty on them and it gives the blocks BODY !  Weight also.  


The next  book I am working on, well sort of.  These are some blocks of a round robin I was in last year.  I did the blocks, the theme was big hat ladies, and fellow artist embellished them.   I did that for this year but haven't gotten the blocks back.  I just wanted to put all the blocks together.  Then the big hat ladies can have a good time together.  

I backed the blocks with lace and white fabric and instead of making a little envelope type of the blocks I cut the fabric a little larger that the block.  I then folded it over and sewed on top of it leaving the edge that will be the center open with extra fabric to fold over.   


This block was embellished by Fitzy,   whole names will come when the book is finished and she did so good and girlie.   I sewed the lace/fabric over the edge and you can see I added a darker baste line to make the blocks sort of uniform.   I left the center edge open    I wanted this whole book to be girlie, I am not a girlie girlie person but do love pretty and not blah colors.   The girls know me well that embellished the blocks.   


I made sure the inside edge was longer because it is the hinge so to speak of the page.   I sewed it to the cover fabric .    


I then fold it over and under to cover the basting of the block.  I did add lace to the outside edge of each page also.  This beauty is embellished by Lydia.   I am so lucky to have such talented ladies in my corner.  


This is the first page, embellished by me, myself and I with the fold over and lace on the inside front. On the opposite page I have sewn a lace tag with the creator's name and where they live and when we did this.  


 In the center of the fabric I used to line the cover,  I marked little lines about 1/4 inch apart to sew each page on.  Well in the general area anyway.  As close I follow my own directions lol   Now the first blank page on the left  and last blank page on the right is also covered in lace and this will be sewn on to the cover fabric.   I will also sew close to the pages on the cover center.   Now I will do all of this BEFORE I start adding the lace and trims to the back.   I will also will add some lace trim to the first and last blank pages.    The pages and blocks are a little smaller than the cover fabric and a good excuse for more girlie trim. 


This is what the back side looks like with pages sewn in.    If I were making a journal to do art in or write in there would be stitches with waxed thread.  A Coptic ( I think that is how you call it) style so the book lays flat.   


I mark the center of the whole cover.  When I get my last blocks I will show all assembly of the last of the book.  


My friend gave me some beautiful cream/warm white fabric and it is perfect for this project.  You  can see  one of the tags I am putting in the book just a little info on what in the world is going on with this book.   Now I do have to say this needs pressing all have been in a plastic sack just waiting to be finished.    I have faith, my girls will make it home to their book.   They are probably off having tea or an adult beverage.   Off the subject but when did they start calling wine, beer or some other alcohol and adult beverage?  Ok back to the subject at hand.


I just pinned some pretties on so you can sort of get the picture of where I am going with the cover.  I am using trim from a wedding gown, crochet work and lace and ribbon and just anything I can get my hands on.    


Alright, I hope this gives you some idea of how I put my books together.    I just follow my muse and how to put together.  I love making them.   

Thanks for stopping by and seeing what is going on in my world today

OXOX
Annette


Sunday, December 4, 2016

What is going on in my world?

Hello dear blog friends.   November flew by and was so jammed packed and I don't know where to start.  So here goes with my wanderings down the bunny trails of life.   Now that was goofy wasn't it?  Grab something warm or cool to drink, my fingers have gone wild her and you may age 20 years by the time you  finish this.  No ... Really !!

I don't know about y'all but I am a list maker.  It just has a great feeling when you mark things off of your lists.  You have accomplished something and it is done and done.   Now when hubby and I go to the grocery store with a list, I try to stick by it.  BUT.... sometimes things just jump in the rolling cart of goodies and I have no idea how they got there.  Hummmmm, we all know how they got there.    So I just whip out my pen and write down the additions in the basket to the list and then mark it off.  I know what you are thinking but then it is legal to be in our cart.  Right?   Sometimes he will say "you better write this on your list".   I know then he has added some Little Debbie cakes or some such thing that we are not eating at the moment.  Now I do say moment, we take spells when we eat "right" and then sometimes just Katy Bar the Door.  We go wild and eat whatever we want , well as much as we go wild.   Nothing earth shattering any more.

Back to the lists, I made a list a while back and I can't remember when it was like June or so and started working on some of the subjects on the list.  Easy as that.   When the lists are more intense I call them goals.  I make those lists and forget I have them.  When they resurface low and behold I have done them all, surprises me for sure.   You remember we painted the kitchen cabinets and master bath cabinets and now the bathroom walss are finished.   It is nothing exciting a DOVE WHITE which is a pretty warm and clean white.  I was dreading that room, you know bathrooms are sometimes twice the work .  I am guessing all the crooks and crannies that goes with that room.  We have a fancy tub with the jets and things in it and I just dust it every once in a while.  We don't use it, now don't laugh but I don't know if I could get out of it and would have to call the fire department to get me out of it.   It sits at an angle  and I was thinking I will have to use the "leaner"ladder, aka extension ladder,  to paint the wall in that part.   Well my thinking cap went on and I taped a long acrylic paint brust to a yard stick and painted close to the crown molding.  Then I had a pad, rectangle in shape, on the end of the pole and ta da no problem.   I was so proud and hubby didn't have to hold the ladder for me on this part.  I only had to climb the 8 foot ladder twice.  I am strutting now and thinking I might have to hang up my hat on  giant ladder climbing days.  Well until the next time.   I keep reminding myself I am not a spring chicken but my head says so what?  Do what you want, you can do it.   So I listen to part of myself and just do what I want.   I am a Taurus you know and we are hard headed and I have been told I march by a different drummer.   I think that is how that goes. 

I have gotten to create a Christmas stocking for a dear friend.   She turned me loose and just let me play as an artist does when not held back.   The theme was--------Alice in Wonderland.  Who would have thought it?    She is my kind of lady and thank you Kathy for allowing me to play.   I am just going to post the close ups with the finished stocking and no words with them just pics.  You know the saying that pictures are worth 1000 words.   ( I did have to verify with hubby what that saying was, you know sometimes I jumble the sayings up )    So here is many thousand words.   Enjoy


The finished stocking and I put a pocket on the back for special notes for Santa.


Also during my down time when not painting I did do a fun portrait with flowers and just fun   

  
I made the pic a little larger but just had to share this beautiful young lady .  I use to paint, well tight, and now I just play and do what I feel and love it so much.  

One more pic is of my December Alice in Wonderland block.  Now to assemble the book.  It will be a fat one but I promise to show it when finished.  Y'all have watch the pages grow and grow and now up to 18 pages with 5 of them being from a round robbin I was in.   

Jaberwocky-------- now I looked up about him and he was removed from pages because he was a little scary.  I the writings said a little different but this is how I took it.   Scary?  Now if he looked like the Predator without his mask or the Alien that might be scary.   I love love A vs P or can you tell?   My friend Ginger bought me the DVD the first day it came out and if I watched it everyday would not bother me at all.  In fact I use to have a Predator mask and hands but got loaned out one Halloween and he never found his way back home.  I guess he is still wandering out there scaring the dickens out of people.   

There you go my blog friends, now you know what is going on.  Well there is more but I don't want to have cob webs growing from your screen to you having reading so much here.  

Thanks for stopping by and seeing what is going on  in my world. 

XOXOXO
Annette